Creating an Instagram-worthy selfie wall is a fun and creative way to capture your memorable moments. From choosing the perfect location to accessorizing for the selfie, there are various elements to consider for a stunning selfie wall. Let’s explore some key tips and tricks to help you create a captivating backdrop for your selfies!
Key Takeaways
- Natural light plays a crucial role in capturing great selfies.
- The background of your selfie wall can make or break the photo.
- Adding personal touches to your DIY selfie wall can make it unique and special.
- Experiment with different props, textures, and plants to enhance your selfies.
- Mastering lighting techniques like the golden hour and using ring lights can significantly improve your selfie game.
Choosing the Perfect Location

Natural Light is Key
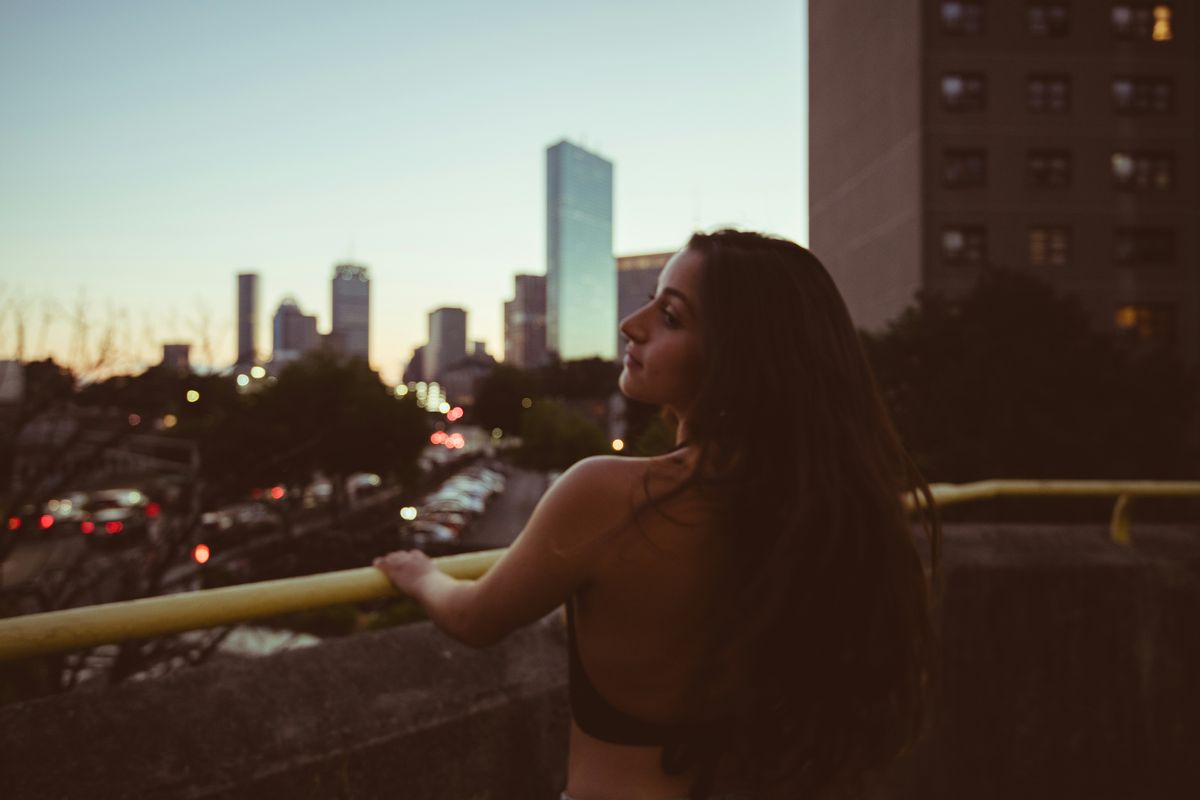
When it comes to creating that perfect selfie wall, natural light cannot be overstated. It’s the most flattering light for photos and it’s completely free! Position your selfie wall near a window or in a well-lit room to take advantage of this gift from Mother Nature. But remember, timing is everything. The intensity and angle of natural light change throughout the day, so you’ll want to test and observe when your chosen spot is bathed in the best light.
Here’s a quick checklist to ensure you’re making the most of natural light:
- Check the light at different times of the day
- Avoid direct sunlight that can cause harsh shadows
- Use sheer curtains to diffuse strong light
- Reflect light using mirrors or white boards
Don’t forget that natural light can also enhance the mood of your selfies. A soft glow can add a warm, inviting feel, while a brighter light can create a more energetic vibe. Play around with the light and shadows to see what works best for your space and your selfie style.
Background Matters
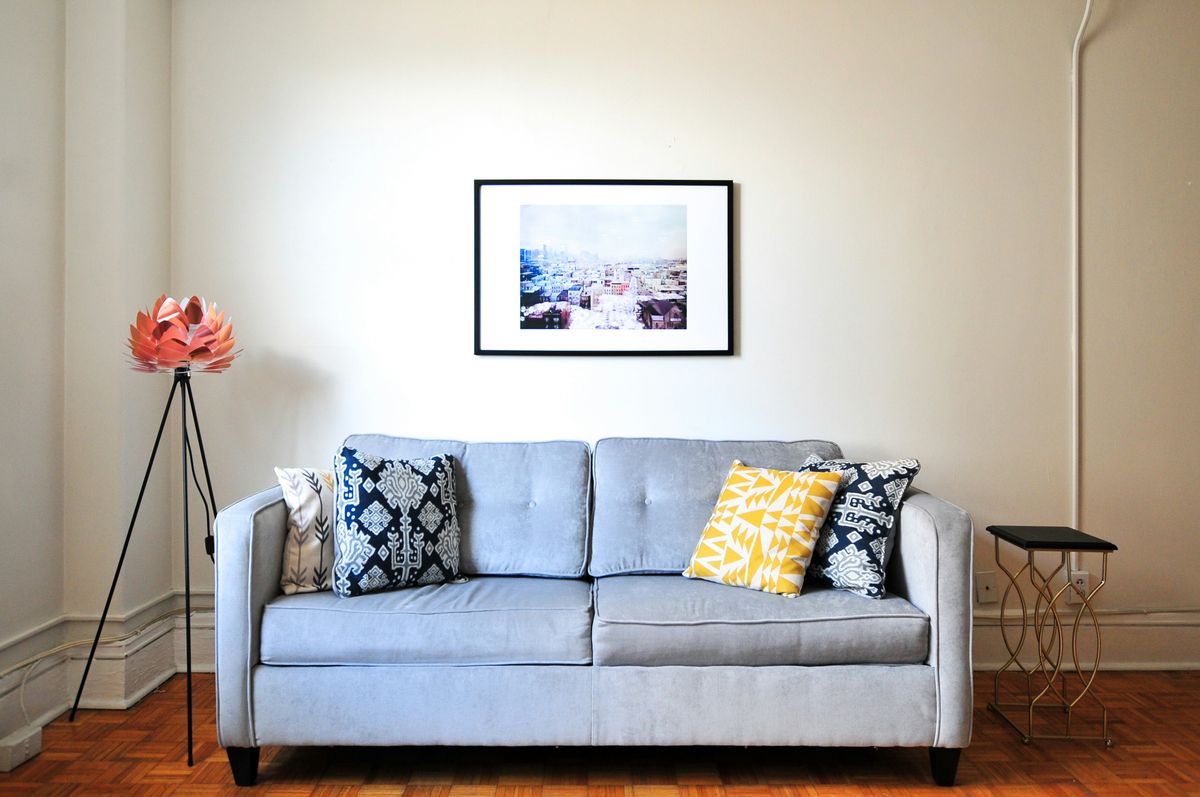
The backdrop of your selfie wall is like the canvas for your photographic masterpiece. Choose a background that complements your style and the mood you want to convey. It’s not just about a plain wall; think about the textures and colors that can add depth to your photos. For instance, a brick wall can give an edgy, urban feel, while a floral wallpaper might create a softer, more romantic vibe.
When selecting your background, consider these points:
- The color should enhance your features and outfit.
- Patterns are great but avoid anything too busy that could distract from the main subject – you!
- Reflect on the overall theme of your Instagram feed to ensure consistency.
Remember, your selfie wall is an extension of your personal brand. Just like expanding your social circle and stepping out of your comfort zone can enrich your social life, experimenting with different backgrounds can enhance your online presence. Similarly, just as you might transform your kitchen with decorative touches to make it welcoming, consider accessorizing your selfie wall to reflect your personality and make your photos pop.
Consider the Aesthetic
When you’re setting up your selfie wall, the overall aesthetic is crucial. It’s not just about a pretty background; it’s about creating a vibe that reflects your personality or brand. Think about the colors, themes, and mood you want to convey. Do you want a boho-chic look with earthy tones and natural elements? Or perhaps a sleek, modern vibe with geometric shapes and a monochrome palette?
Here’s a quick checklist to help you nail the aesthetic:
- Choose a color scheme that resonates with you.
- Select decor that complements your chosen theme.
- Arrange items in a way that’s visually pleasing and not too cluttered.
Remember, your selfie wall should be a reflection of what you love. Whether it’s a collection of vintage posters, a splash of neon, or a wall of cascading flowers, make sure it’s a space where you feel inspired. After all, the best selfies come from a place of authenticity. And don’t forget, the right props can supercharge the selfie experience, making each photo pop with personality.
DIY Selfie Wall Ideas

Create a Gallery Wall
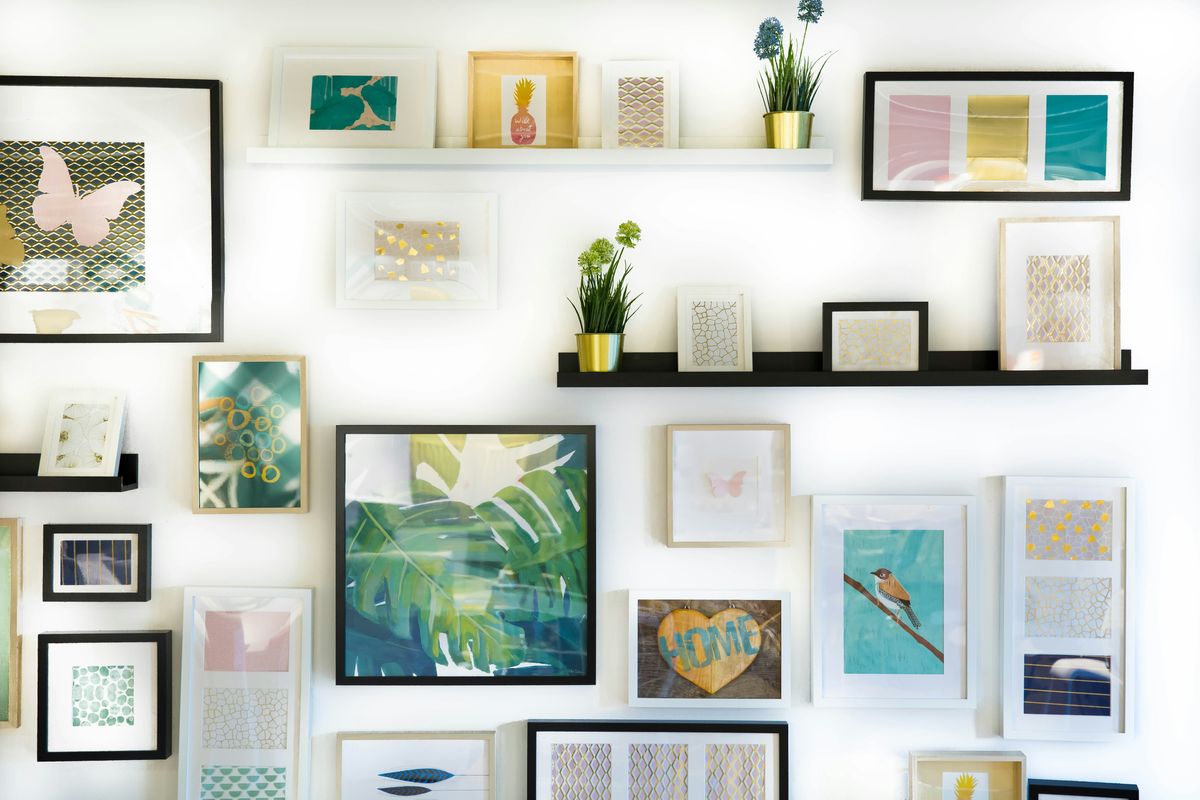
A gallery wall is a fantastic way to infuse your personality into your selfie space. Start by choosing a theme that resonates with you; it could be anything from travel memories to a specific color palette. Remember, cohesion is key to a stunning gallery wall, so keep things cohesive as you select your pieces.
Here’s a simple guide to get you started:
- Select your favorite photos or art pieces.
- Decide on a layout. Symmetrical or asymmetrical? It’s your call!
- Frame your pieces for a polished look.
- Plan the arrangement on the floor before taking it to the wall.
- Hang your frames and enjoy your personalized backdrop!
Don’t be afraid to go bright or mix in different textures and materials. After all, gallery walls are all about creativity and making a statement. Whether you’re aiming for a minimalist display or an eclectic mix, your gallery wall will energize any room and make your selfies pop.
Use Removable Wallpaper
If you’re looking for a hassle-free way to transform your selfie wall, removable wallpaper is your go-to option. It’s a game-changer for renters and those who love to switch up their space frequently. With a variety of designs available, you can choose something that truly reflects your personality.
Here are some tips for choosing the right removable wallpaper:
- Opt for high-quality print and eco-friendly ink to ensure the wallpaper is both durable and kind to the environment.
- Look for textured materials and a matte finish to avoid unwanted glare in your selfies.
- Make sure the wallpaper is washable and repositionable for easy maintenance and adjustments.
Remember, the right wallpaper can act as a statement piece for your selfie wall. Brands like Modern Art Peel and Stick offer abstract and colorful designs that can add a vibrant touch to your photos. Meanwhile, Wallshoppe provides sustainably made panels from nontoxic materials, perfect for those who are environmentally conscious.
Add Personal Touches
Your selfie wall should be a reflection of who you are, so don’t shy away from adding those quirky, personal touches that make it uniquely yours. Think of it as an evolving canvas that showcases your personality and interests. Here’s a quick list to get you started:
- Incorporate mementos that mean something to you, like concert tickets or travel souvenirs.
- Hang up your favorite quotes or artwork that inspire you daily.
- Display a mix of personal photos with friends, family, or pets alongside your selfies.
Remember, there’s no right or wrong here. If you’re into DIY projects, why not craft your own decorations? For instance, a handmade photo booth frame can be a fun project that adds a personalized touch to your photos. You can draw inspiration from various DIY photo booth ideas for events and adapt them to your space. Whether it’s using cardboard cutouts, string lights, or fabric backdrops, the possibilities are endless. Just have fun with it and let your selfie wall tell your story!
Accessorizing for the Selfie

Props and Accessories
Elevate your selfie game with some fun props and accessories. These add-ons are not just playful but can also help express your personality and the theme of your selfie wall. For instance, an Instagram Photo Booth Frame can instantly turn your space into a party scene, making it a hit for social gatherings.
Here’s a quick list of props you might want to consider:
- Emoji & Speech Bubble Props
- Funky Glasses or Sunglasses
- Quirky Hats or Headbands
- Themed Costume Pieces
Remember, the key is to have a variety of options at hand. This way, you can mix and match to suit your mood or the occasion. And while you’re at it, keep in mind some practical tips, like how to remove any accidental crayon marks from your selfie wall. Knowing these little tricks can save you a lot of hassle and keep your backdrop looking pristine for the next photo op.
Play with Textures
Adding texture to your selfie wall can transform the flatness of a photo into a rich, tactile experience. Mixing different materials and fabrics can create a dynamic backdrop that makes your selfies pop. Think about incorporating a variety of textures such as soft, plush fabrics with rougher elements like burlap or wood.
Here’s a quick guide to get you started:
- Velvet or silk for a touch of luxury and sheen.
- Lace or macram\u00e9 for intricate patterns and a boho vibe.
- Faux fur or wool for warmth and a cozy feel.
Remember, the key is to layer without overwhelming the space. Each texture should complement the others, creating a cohesive yet interesting visual palette. For inspiration, check out resources like ‘Free Textures Projects’ on Behance, which offers a variety of textures including ‘200 Free Brick Wall Textures‘. Also, understanding the role of texture in photography can help you capture it effectively in your selfies. It’s all about finding the right balance to enhance your selfie without detracting from the main subject \- you!
Incorporate Plants
Bringing a bit of the outdoors in can transform your selfie wall from a plain background to a lush, vibrant scene. Incorporate plants to add a fresh, organic feel to your photos. Not only do they provide a pop of color and texture, but they also help to create a more relaxed and natural atmosphere.
When selecting plants, consider their size and maintenance needs. Here’s a quick guide to help you choose:
- Small succulents are perfect for adding greenery without taking up too much space.
- Hanging plants can frame your selfies and add vertical interest.
- Large potted plants serve as a bold statement piece and can fill empty corners effectively.
Remember, the key is to complement your selfie wall without overwhelming it. Mix and match different types of plants to find the perfect balance for your space. And if you’re not blessed with a green thumb, faux plants can be just as effective in achieving that Instagram-worthy look.
Lighting Tricks for the Best Shot

Golden Hour Magic
There’s something truly magical about the golden hour—that short window just after sunrise or before sunset when the light is soft, warm, and perfect for photography. To make the most of this time, you’ll want to be prepared. Here’s a quick checklist to ensure you’re ready to capture that Instagram-worthy selfie:
- Check the exact times for sunrise and sunset in your area.
- Scout for the best location in advance, keeping in mind how the light will fall.
- Have your camera or phone fully charged and ready to go.
- Practice your poses beforehand to make the most of the limited time.
Remember, the golden hour isn’t just about the light; it’s also about the atmosphere it creates. The warm tones can add a dreamy quality to your selfies that’s hard to replicate any other time of day. Plus, it’s a great opportunity to declutter your digital space—you’ll only want to keep the best shots from this prime photography time. For those looking to dive deeper, consider checking out resources like ‘Golden Hour Photography: A Guide to Mastering the Magic Light’ for expert tips on making the most of this natural phenomenon.
Ring Light Essentials
A ring light can be your best friend when it comes to taking selfies that pop. The right ring light can eliminate shadows, provide even lighting, and enhance your features. But with so many on the market, how do you choose the best one? According to a recent review by CNN Underscored, the best ring lights of 2024 have been put to the test, with a couple standing out from the rest.
When selecting a ring light, consider the size and the type of light it emits. Larger ring lights can offer a more diffuse light, which is flattering for selfies. Here’s a quick guide to help you decide:
- Adjustable brightness is a must for controlling the intensity of the light.
- Look for color temperature settings to match the light to your environment or mood.
- A remote control can be handy for taking selfies from a distance.
Remember, the goal is to create a natural, flattering light that mimics daylight. Whether you’re capturing a magical moment on a dinner river cruise or just snapping a casual selfie at home, the right ring light can make all the difference.
Natural vs Artificial Light
When it comes to lighting your selfie wall, the debate between natural and artificial light is crucial. Natural light can imbue your photos with a warm, organic appearance, making them feel more authentic and inviting. On the other hand, artificial lighting offers control and the ability to create stylized situations that can make your selfies stand out.
Understanding the basics of artificial lighting is essential. There are three main types to consider: continuous, strobe, and LED. Each has its own set of advantages that can enhance your selfie wall experience. Continuous lights are great for seeing the effect in real-time, strobes provide a powerful burst of light for a crisp look, and LEDs offer versatility with adjustable color temperatures.
Here’s a quick guide to help you decide when to use each type of light:
- Continuous: Ideal for beginners; what you see is what you get.
- Strobe: Best for freezing motion and achieving high-detail shots.
- LED: Perfect for playing with color temperatures and energy efficiency.
Editing Tips for the Perfect Selfie

Find Your Editing Style
Discovering your unique editing style is like finding the perfect pair of jeans; it might take some trying on, but once you’ve found it, everything just clicks. Experiment with different apps and filters until you find the combination that speaks to you. Remember, consistency is key to creating a cohesive Instagram feed.
Here’s a quick list of popular editing apps to get you started:
- Snapseed: Offers professional-level photo editing with intuitive gestures.
- VSCO: Known for its stylish filters and community platform.
- Hopper HQ: Allows you to plan, edit, and schedule your Instagram posts.
Once you’ve chosen your tools, it’s time to play around with the features. Adjust the brightness, contrast, and saturation to see how they change the mood of your selfies. Don’t be afraid to step out of your comfort zone and try bold edits; your signature style could be just one tweak away!
Enhance Colors and Contrast
Getting the colors in your selfie to pop can make the difference between a good photo and a great one. Adjust the saturation to enhance the vibrancy of your image, but be careful not to overdo it; you want to avoid that artificial, oversaturated look. For a more subtle and natural enhancement, slightly increase the saturation for a touch of vividness.
Contrast is your secret weapon for adding depth and dimension to your selfies. By tweaking the contrast, you can make the colors and shadows in your photo more pronounced. Remember, the goal is to achieve a balance that feels just right—too little contrast and your photo looks flat, too much and it might lose detail. Here’s a quick guide to get you started:
- Increase contrast to deepen shadows and brighten highlights.
- Decrease contrast if the photo looks too harsh or if details are getting lost in the shadows.
- Use the ‘Curves’ tool for more precise control over the tonal range.
Experiment with these settings to find the perfect blend that brings your selfie to life. And hey, if you’re feeling adventurous, dive into color grading to set a whole mood for your image!
Blur Backgrounds Effectively
Once you’ve nailed the perfect pose and captured the shot, blurring the background can add that professional touch to your selfie. Blurring the background helps to draw attention to you, the main subject, and gives your photo a depth of field that’s often seen in DSLR photography. It’s a simple yet effective editing trick that can elevate your selfie from good to great.
To achieve this effect, you don’t need fancy equipment; many photo editing apps offer tools to help you blur the background with ease. For instance, you can use a ‘Circular’ or ‘Linear’ blur tool to selectively add softness to the backdrop of your image. If you’re posting directly to Instagram stories, searching for a ‘blurred background‘ effect can also do the trick. Here’s a quick guide on how to apply a blur:
- Open your preferred photo editing app.
- Upload your selfie.
- Select the blur tool (circular or linear options are common).
- Adjust the intensity and area of the blur to your liking.
- Apply the changes and save your edited selfie.
Remember, the key is subtlety; you want to enhance the photo without making it look overly processed. With a little practice, you’ll be creating Instagram-worthy selfies that stand out in a sea of snaps.
Frequently Asked Questions
How important is natural light for taking selfies?
Natural light is crucial as it provides the most flattering and even lighting for selfies.
Can I use any background for my selfie wall?
It’s recommended to choose a background that complements your style and enhances the overall aesthetic of your selfies.
What are some DIY ideas for creating a selfie wall?
You can create a gallery wall with your favorite photos, use removable wallpaper for versatility, and add personal touches like fairy lights or mirrors.
What accessories can enhance my selfie game?
Props like hats or sunglasses, playing with different textures in your outfits, and incorporating plants for a fresh look can elevate your selfies.
How can I achieve the best lighting for selfies?
Utilize the golden hour for warm, soft lighting, consider investing in a ring light for consistent illumination, and experiment with both natural and artificial light sources.
What editing tips can improve my selfies?
Find an editing style that suits your aesthetic, enhance colors and contrast to make your selfies pop, and use blur effects to create a pleasing background separation.
