Decorating brick walls can add character and charm to any space, but it’s essential to ensure that items are hung securely to prevent damage. Whether you’re hanging artwork, adding shelves, or installing mirrors, there are key tips to keep in mind for a successful and safe decoration process. Here are some key takeaways to help you master the art of decorating brick walls:
Key Takeaways
- Choose the right tools for brick walls to avoid damage.
- Properly prepare the wall surface before hanging anything to ensure a secure hold.
- Use sturdy hooks designed for brick walls when hanging artwork for stability.
- Create visually appealing clusters when arranging artwork on brick walls for a cohesive look.
- Select sturdy brackets that can support the weight of shelves on brick walls to prevent accidents.
Getting Started

Choosing the Right Tools
When it comes to hanging decorations on brick walls, the key is to use the right tools that won’t cause damage. Discover the versatility of Command Strips for a damage-free experience, especially if you’re dealing with smooth surfaces. These handy strips can support items up to 16 pounds, making them a go-to for lighter wall hangings.
However, not all brick walls are created equal. If you’re working with a textured or an outdoor wall, Command Strips might not be your best bet. In such cases, you’ll need to consider alternative methods that can securely handle the unique challenges posed by these surfaces.
Here’s a quick list of tools you might need:
- Hammer drill for making precise holes
- Masonry screws and anchors for a firm hold
- Picture hanging hooks rated for the weight of your item
- A level to ensure your decorations hang straight
Remember, the goal is to achieve a secure hold without leaving permanent marks, so choose your tools wisely!
Preparing the Wall
Before you start hanging anything on your brick wall, it’s crucial to get the surface ready. A clean wall ensures that your hooks and adhesives will hold properly. Start by dusting off any loose debris with a soft brush or cloth. If you’re dealing with stubborn dirt or grime, a mild detergent mixed with water should do the trick.
For those pesky crayon marks left by creative kids or previous occupants, here’s a handy tip: use a gentle eraser or a dab of toothpaste on a cloth. Test your cleaning method on a small, inconspicuous area first to avoid any unwanted discoloration. And remember, patience and the right tools are key to a clean wall.
When it comes to grout maintenance, seal it to prevent moisture absorption and clean any spills as soon as they happen. Avoid using abrasive cleaners that can wear down the grout over time. For tougher stains, consider using a baking soda paste or a commercial grout cleaner, but always be gentle to protect the integrity of the grout.
Hanging Artwork

Using Proper Hooks
When it comes to hanging artwork on brick walls, the key is to choose the right hooks that can handle the weight without damaging the wall. Not all hooks are created equal, and using the wrong type can lead to a decorating disaster.
Here’s a quick rundown on hook types:
- Masonry hooks are your go-to for heavy pieces; they can support a lot without budging.
- Brick clips latch onto the brick itself, perfect for temporary displays or lighter frames.
- Adhesive hooks offer a damage-free option, but check the weight limit before you hang.
Remember, it’s not just about the hook’s weight capacity, but also about the artwork’s distribution of weight. A heavier piece might require multiple hooks to ensure it stays secure. And don’t forget, if you’re unsure or dealing with a particularly heavy or valuable piece, it might be worth getting a professional’s opinion to address repairs promptly and avoid any mishaps.
Arranging in Clusters
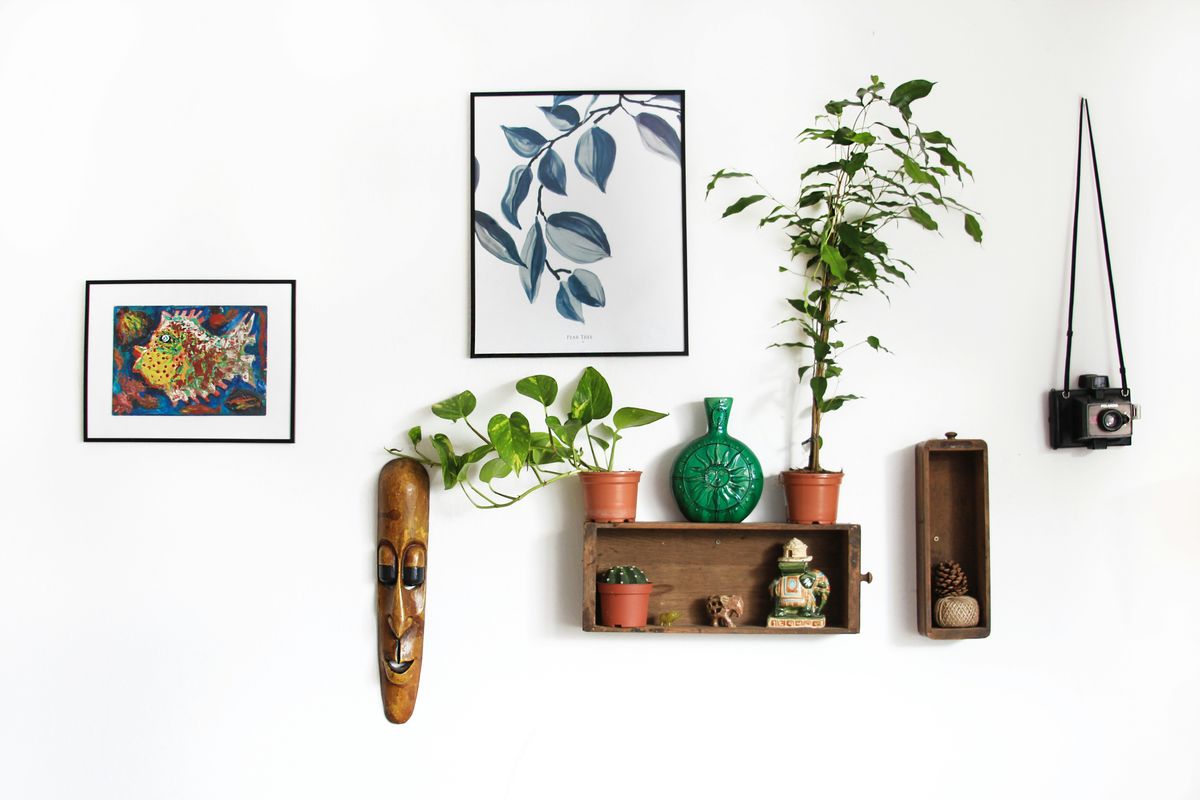
When it comes to hanging artwork in clusters, think of it as a gallery wall that can add a personal touch to your brick backdrop. Start by laying out your frames on the floor to experiment with different arrangements. Aim for a balanced composition that reflects your style and the room’s aesthetic.
Remember, the key to a successful cluster is not just about the art itself but also about the spaces between them. Here’s a quick checklist to ensure your cluster looks intentional and not haphazard:
- Keep a consistent space between frames, typically 2-4 inches.
- Mix different sizes and orientations for dynamic appeal.
- Consider the wall’s dimensions and don’t overcrowd it.
Just like attaching a balloon garland to the wall, the process requires careful planning and execution. And if you’re a fan of greenery, incorporating elements like Clusia hedges in your decor can complement your art cluster with their sturdy dark green foliage, bringing a touch of nature indoors.
Adding Shelves

Selecting Sturdy Brackets
When it comes to floating shelves, the unsung heroes are undoubtedly the brackets. They’re the backbone that keeps everything from your favorite books to your heirloom china safe and sound. Choosing the right bracket is crucial, and it’s not just about aesthetics; it’s about functionality and safety. For instance, the Aksel HD Floating Shelf Bracket by Shelfology is a solid choice for heavy-duty needs. This bracket is engineered to hold loads up to 80 lbs, making it perfect for those with a hefty bowling ball collection or similar items.
But if you’re looking for something even more robust, consider the EVALD Heavy Duty Floating Shelf Bracket. Crafted from 100% high-grade carbon steel, these brackets boast superior strength and durability, capable of supporting up to 125 lbs per bracket. That’s some serious holding power!
Here’s a quick comparison to help you decide:
| Bracket Model | Material | Max Load per Bracket |
|---|---|---|
| Aksel HD | Steel | 80 lbs |
| EVALD | Carbon Steel | 125 lbs |
Remember, the right bracket not only holds your shelf in place but also ensures the safety of everything and everyone around it. So, take your time, weigh your options, and choose a bracket that meets the demands of your decor and your peace of mind.
Balancing Weight
When it comes to adding shelves to brick walls, it’s not just about picking the sturdiest brackets; balancing weight is crucial. Each shelf should be able to support the items you plan to place on it without causing strain on the wall or the brackets.
Here’s a quick guide to help you balance things out:
- Estimate the weight of the items you’ll be displaying.
- Choose shelves and brackets that can handle more than the estimated weight.
- Distribute heavier items towards the wall rather than at the edge of the shelf.
- Regularly check the shelf for any signs of sagging or damage.
Remember, a well-balanced shelf not only looks better but also ensures the safety and longevity of your display. And speaking of safety, consider enhancing your space with fire-rated access doors to protect against potential hazards. These doors are designed to resist fire and can be a smart addition, especially if you’re storing valuable or flammable items on your shelves.
Installing Mirrors

Finding the Right Size
When it comes to mirrors, size does matter. Finding the right size for your brick wall is crucial for both aesthetics and functionality. A mirror that’s too small might get lost on a large wall, while one that’s too big can overwhelm the space.
To ensure you get the perfect fit, start by measuring the width of the wall space where you plan to hang the mirror. If you’re placing it above a piece of furniture, like a mantle, leave a gap of at least 4-6 inches between the bottom of the mirror and the top of the furniture for a balanced look. Here’s a quick guide:
- Measure the wall space width
- Subtract 8-12 inches for the ideal mirror width
- Leave 4-6 inches of space above furniture
Remember, the height at which you hang the mirror is just as important. It should be hung at eye level for the average person, which is typically around 57-65 inches from the floor to the center of the mirror. This ensures that it’s not only decorative but also functional, allowing for a clear reflection without having to crouch or tiptoe.
Positioning for Reflection
Once you’ve found the perfect mirror for your brick wall, it’s time to think about where it’ll shine best. Positioning is key; you want to maximize the light and views your mirror reflects. For instance, placing a mirror opposite a window can bring in natural light and make a room feel more spacious.
But it’s not just about the light; it’s about what’s being reflected. A mirror facing a cluttered area can double the chaos, so aim for a reflection that creates a sense of harmony. Here’s a quick checklist to ensure your mirror placement is spot on:
- Reflect good views, like a garden or artwork
- Avoid reflecting less appealing areas, like a kitchen or clutter
- Consider the impact on room acoustics, as mirrors can affect sound
Remember, the goal is to use mirrors to enhance your space, not just fill an empty spot on the wall. With a little thought, your mirror can be a functional piece of art that adds depth and beauty to your brick wall decor.
Frequently Asked Questions
How do I choose the right tools for hanging items on brick walls?
Consider using masonry-specific tools like masonry screws and anchors for secure installations.
What is the best way to prepare a brick wall before hanging decorations?
Clean the surface thoroughly and use a stud finder to locate the most secure points for hanging.
Can I use regular hooks for hanging artwork on brick walls?
It’s recommended to use hooks specifically designed for brick walls to ensure stability and safety.
How can I arrange artwork in clusters on a brick wall?
Start by laying out the arrangement on the floor first to plan the layout before hanging on the wall.
What type of brackets should I choose for adding shelves to brick walls?
Opt for heavy-duty brackets that are designed to support the weight of the shelves and items placed on them.
How do I ensure the balance of weight when adding shelves to a brick wall?
Distribute the weight evenly on the shelves and use anchors that can support the total weight.
