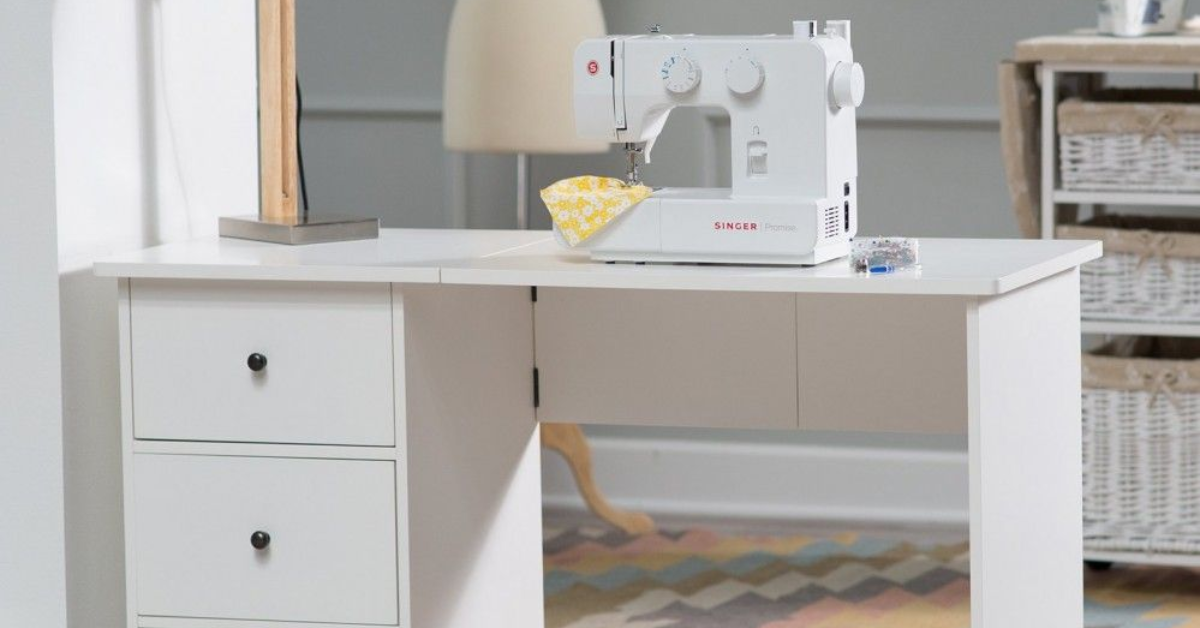
IKEA is a Swedish retailer famous for selling affordable furniture. They have something for every room in your house. Yet, there is no product titled an IKEA sewing table. What you can do, however, is to make a DIY sewing table out of IKEA products.
You can make your own IKEA sewing table for less money than buying an actual one. Here are some IKEA sewing room ideas you can try.
IKEA Sewing table hack
This woodworking project requires you to get the IKEA Ingo Table first. You can buy it cheap, and the rest of the materials and tools are easy to source. You need wood, screws, bolts, and some other tools that will not make your bill more than $150.

- Start by measuring everything out and trace out the machine
- Use a drill to create a hole where you will put the blade through and then follow the line
- Use an orbital sander to smooth everything out
- Place the sewing machine in the hole and make sure you cut a hole for the power cord
Your sewing machine will work perfectly and it will be comfortable to use. And here is the added bonus, it is much quieter than when you use it on a table top.
Bonus tip: we strongly suggest you flip your table over and measure everything out. Take into account the existing nuts and bolts before you get the jigsaw out.
Less than $100 IKEA Sewing table
Here is another idea for How to make a DIY sewing table with IKEA Products. You can make this sewing room table out of a large sheet of plywood and IKEA table legs. It will give you ample space to work with large quilts and will cost less than $100.
Bonus tip: you can make this IKEA table in any size you need. Most people use standard size sewing tables. But you can adjust the size per your preferences. What are the materials that you need?
- 1 sheet maple veneer plywood (size 8ft x 4ft)
- Skinny pine trim molding strips
- 6 cheap IKEA desk legs
- Finishing nails
How to do it?
1 Start by cutting the plywood to size, which is the hardest part of the project. Getting the wood home, into the house, and cutting to size is the biggest challenge. If you know what size you want, you can get it cut at the store
2. The next step is to attach the legs. Once you cut the board to the desired size, attach the legs to the board. We suggest using 6 legs. This way, your sewing machine table will be properly supported in the middle
3. Finish the edges with trim, a pretty good trim in the same width as the plywood. Without it, you will have a table with ugly and rough plywood board edges.
The best method for this step is to use a compound miter saw to cut the trim strips at an angle in a way the ends of the trim would fit together and form corners. You can use a hand saw if you do not have a miter saw. Add a thin line of glue to the edge of the table, push the trim against it, and secure with painter’s tape
4 . Use pliers to hold finishing nails straight while you hammer them in. You can also hammer a big nail against the head of each finishing nail to countersink them
5 After 24 hours, it is time to fill the cracks and strive for perfection. Dab some wood putty, which is denser than wood filler, and then put it into the holes left by countersunk finishing nails and some over the seams where the trim meets the plywood. Finish with putty into the mitered corners where the pieces of wood trim met up. Let it dry for 24 hours
6 It is now time to sand and stain the table. Use an electric sander to smooth down the surface, and then use hand sanding blocks to smooth over the trim where you added the putty

Custom DIY Sewing and Cutting Table
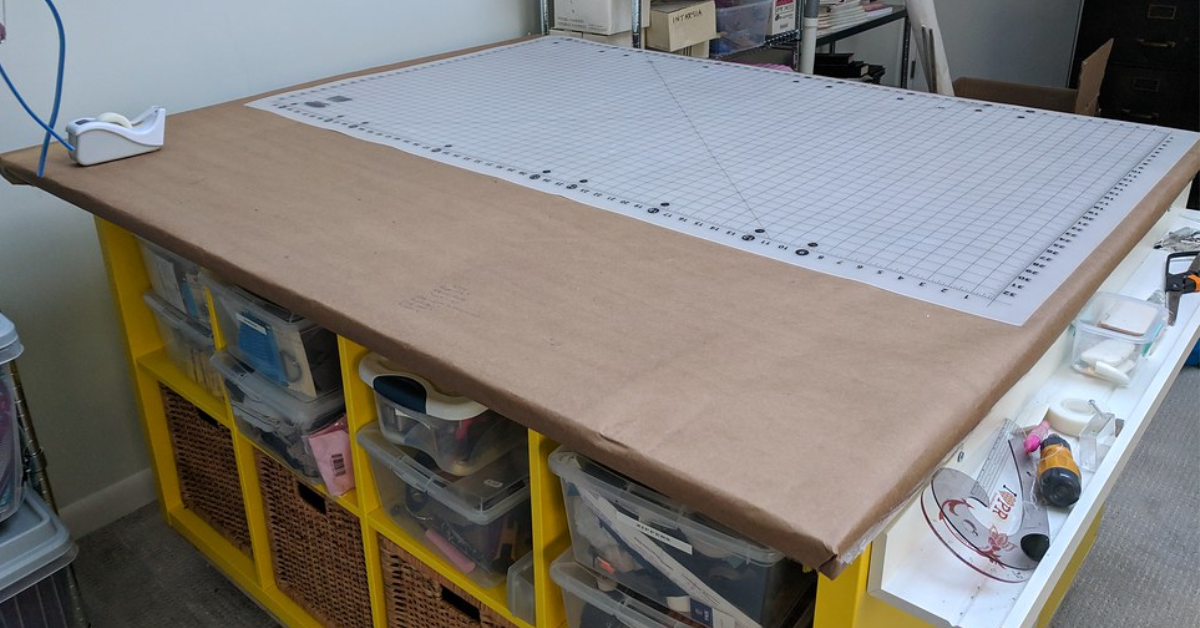
This cutting and sew station table starts off with an IKEA shelving unit. It will give you lots of storage below the table for all the sewing supplies and fabric. Isn’t that wonderful? You will need a large piece of plywood for the top and legs that are easy to build frames.
The best part about this custom DIY sewing table is that the height is easy to customize. You can search around for different options for height. No matter what you end up with, it is your choice and you should stick with it. Usually, the perfect middle is between counter height and desk height. Depending on your height, you can adjust it a bit more.
What are the materials you need to use? Here is a quick breakdown:
- 1 IKEA Expedit shelving unit
- 42″ wide by 62″ long oak veneer 3/4 ” plywood
- Oak screen molding
- 1 10′ 2×4
- 3 8′ 2×2’s
- Large screws for attaching legs to Expedit and tabletop
- Desk screws for making the legs
- Pickling stain
- Water based poly
Of course, you also need tools like a nail gun, a cordless drill, and some DIY skills. Things are pretty simple and easy. Here is how to do it.
- Start by making 2×2’s into 2 rectangular frames and attach them to the table top and back of the Expedit cabinet
- Then, there are 3 pieces of 2×4 that go under the Expedit and add extra height. The other 2×4 goes under the open side of the deck, it attaches to the 2×2 frames and adds stability to the front edge of the desk
- Hold everything together with lag screws. This will result in a sturdy desk. You definitely do not need a wobbly desk for your IKEA sewing machine table, right?
