How do you pick the right cutting board? It can be a tricky challenge. We have to stress, anything that touches your food can potentially contaminate it. That is why it is important to pick a good cutting board. In that spirit, today, we will talk about the IKEA cutting board. How good is it? How to customize it? What is the price?
Well, the IKEA cutting board is one of the cheapest quality boards you can buy. And here is an interesting IKEA hack. They won’t tell you this when you buy the cutting board at any IKEA furniture shop. But you can customize it. You can change the shape, and add some color. Do not worry, we will let you know how to do it.
Why is wooden cutting board better than plastic?
You are probably wondering, which type of cutting board is safer, solid wood or plastic? Well, for a long time, cutting boards were made of wood. Then, plastic boards appeared, with the promise they are easier to clean. They were also marketed as safer.

Yet, research has shown that wood cutting board is just as safe, if not safer than a plastic cutting board.
With solid wood, there are still lots of crevices. But you have to understand they are deeper, meaning that the bacteria fall in and eventually die. They do not come into contact with more food.
The type of wood matters as well. Hardwood like maple is fine-grained, and the capillary action of those grains pulls down fluid, trapping the bacteria. Soft wood, on the other hand, is less likely to dull the edge of your knife blade. Yet, soft wood cutting board poses a greater food safety risk.
We also have to stress one more thing. Wood is naturally porous. That is why, without a protective finish, wood can absorb juices from your food, transferring colors and aromas from one recipe to another.
How to keep your IKEA cutting board clean?
As we will talk about it, later on, an IKEA cutting board is quite cheap. How to clean it? How to maintain that great look and amazing quality?
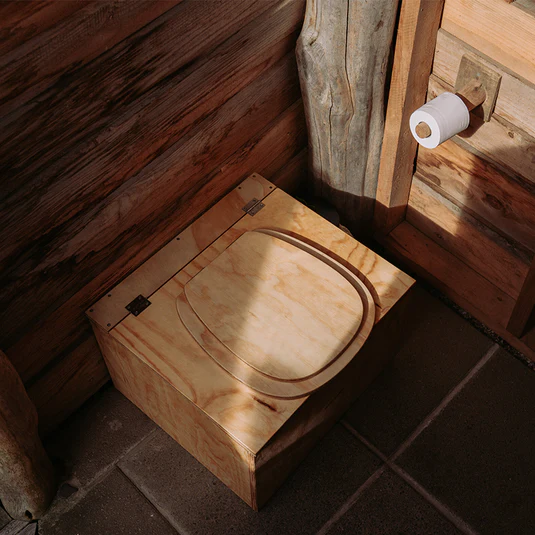
Let’s be honest for a moment. In most cases, it might be safer to make a salad on a toilet seat than on a cutting board. Why is that? Well, think about this for a second. People often disinfect their toilet seat all the time. But they rarely pay attention to the kitchen and their cutting board.
So, did that make you run to the kitchen and scrub your cutting board? With a plastic cutting board, it is quite easy. Just throw it in the dishwater or wash it using dish soap and water.
But with wooden cutting boards, you have to work differently. You need warm water and soap, and you need to wash by hand.
How to get a differently shaped IKEA Cutting board?
Now, let’s talk about IKEA hacks. One such IKEA hack is about getting a differently-shaped IKEA cutting board. Yes, you can have an IKEA wooden cutting board and shape it differently. All it takes is about 10 minutes and some DIY skills. Here is what you need:
- IKEA cutting board
- Compact circular saw
- Table clamps
- Painter’s tape or washi tape (this step is optional)
- Pencil
- Food-safe mineral oil
- Powder sander or sandpaper
Now, you can use a regular circular saw. But with the compact one, you have more control for a project like this one. Not to mention, it fits better in your hand. A compact circular saw is lighter than a regular circular saw and feels less intimidating.
If you have a jigsaw, you can take this project to the next level. Use a jigsaw to create shapes with curves that do not have straight cuts. Think of arches, waves, circles, and more. These would be fun for cutting boards.
How to do it?
- First and foremost, you have to make some measurements. Without that, you cannot cut a house-shaped cutting board. Find the top center of the board and make a mark using a pencil. Then, create the first angle for the roof going down from that center point to the site of the cutting board. Mimic that angle on the other side as well. Measure how far down the side of the cutting board the first angle is, and then mark it off at the same measurement
- Here is a tip, if you are creating an asymmetrical angle instead of a house shape, you do not have to worry about measurements. Simply mark off the design you like
- Then, it is time to add painter’s tape or washi tape to create a more obvious guide to follow for your saw. This is why we said this step is optional. If you are a beginner DIY person, you needwashitape. But if you are professional, you can do it without. This step is helpful visually, but it is not necessary if you can see the pencil lines
- Clamp down your cutting board using table clamps. This will make secure the board while cutting. Also, make sure that the areas that you are cutting are a safe distance away from the table where you have clamped your cutting board
- Make cuts with your saw, and then remove the tape if you used it. Sand the edges to get a smooth finish
- Finish off by applying food-safe mineral oil using a cloth to the entire surface. Apply on the front, back, and sides. Wait for five minutes and then wipe away any excess oil using a dry cloth. If needed, you can reapply mineral oil every few weeks
- Another optional step. If you like, you can add a leather knotted strap. Simply drill a hole in some cutting boards that do not already have one. Make sure to wet your leather first before trying to knot it. It will make it softer and easy to bend

Get a custom color cutting board
We talked about the IKEA hack for getting differently shaped IKEA cutting boards. But here is another thing you can do to customize it and add some personalisation. And that is to make a DIY painted cutting board. How to do it?
- Start by applying painter’s tape. You will need it to tape off the section you will be painting to get that dipped effect. You can tape off any area, be the handle area or anything else. We recommend painting an area that will not be frequently washed and will not come in direct contact with food
- Now using a small brush, paint the dipped area. When the paint is still wet, carefully peel off the tape. It will ensure your lines stay super crisp. Sometimes, you might need to apply a second coat. If that is the case, reapply the tape and paint again
- Now, get a napkin, or any piece of paper. Cover the unpainted part of the cutting board. Then, apply a generous coating of matte acrylic spray to the painted part. Make sure to use water-resistant paint. Once the IKEA cutting board is dry, you can use it.
How much does it cost?
A kitchen is a place in which you might spend a lot of money. But that is not the case with IKEA furniture pieces. In fact, the IKEA cutting boards cost only $14.99.
And as we said, with a bit more, you can customize it and make it unique. Never miss an opportunity to add some personalisation to your home interior design.