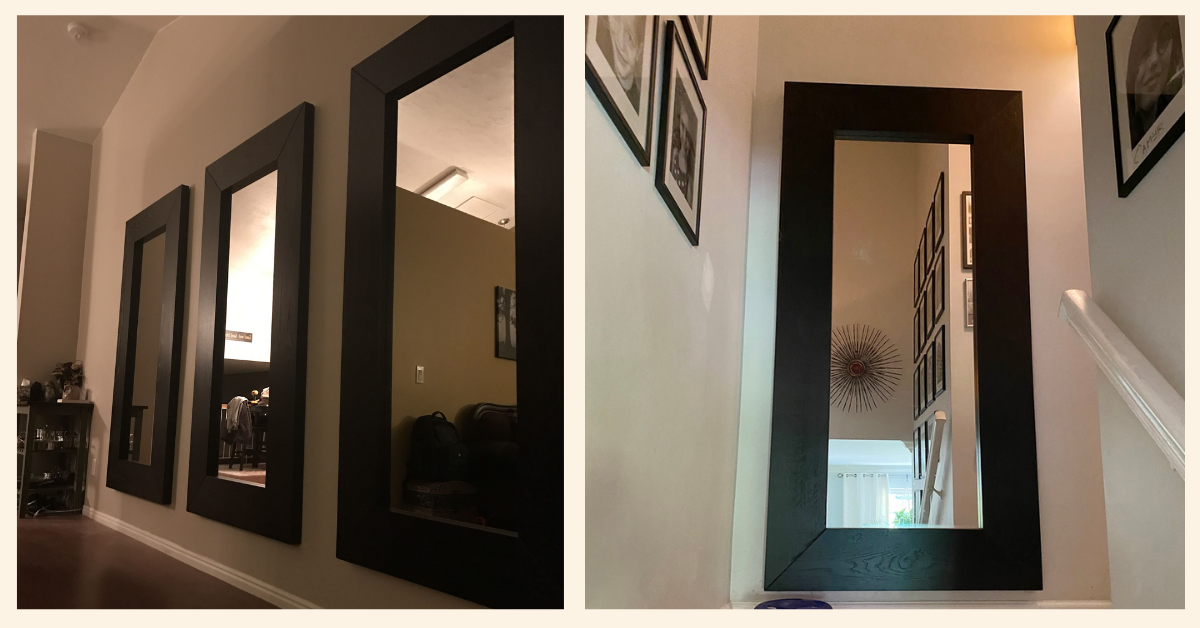
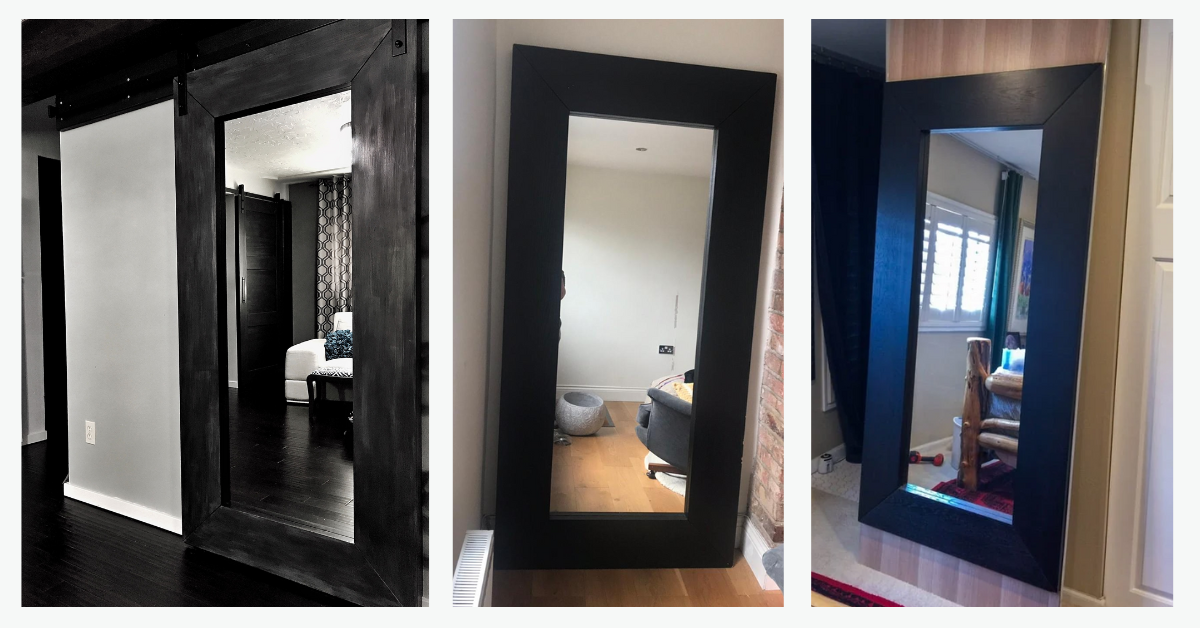
IKEA Mongstad mirror is just one of the many wall mirrors the Swedish retailer has in its palette of products. But it is certainly one of the more popular. With a special film protecting the full length wall mirror from splinters if the glass breaks, it is a mirror of high quality.
You can hang the Mongstad IKEA mirror both horizontally and vertically. That makes it a versatile IKEA product suitable for many DIY hacks and ideas.
The rear part is made of fiberboard, the mirror part is made of glass, and the main parts are from paper, clear acrylic lacquer, stain, and ash veneer.
Dimensions are 35 x 74 inches (90 x 190cm). Let’s talk more about this popular mirror and how you can incorporate it into your home interior design.
How to clean the IKEA Mongstad window?

If you decided to get the Mongstad product, you need to know how to clean it. After all, maintenance is one of the most important parts of interior design.
Here are some care instructions for this specific full length mirror:
- Wipe clean with a cloth dampened in a mild cleaner
- Wipe clean with a dry cloth
- Use a cloth dampened in water or window cleaner
- And finish off by wiping clean with a dry cloth
How to Hang?
We have to take into consideration that Mongstad is a large IKEA mirror. This giant mirror can be hung horizontally and vertically. But because it is big and heavy, you need to pay special attention to how you hang it.
First off, you will need some small screws to fix them to the mirror and wall plugs and screws to fix them to a solid wall. Now, if you have a wall that is plasterboard, then use plasterboard fixibngs.
- Fix the flush mounts on the back of the mirror using screws that will not stick through the frame. Remember to fix the flush mounts on the back of the frame itself, not where the actual wall mirror is
- Measure the center part of the mirror carefully and fix the flush mounts so that they are in the center
- Take these measurements and mark a feint line on the wall using a pencil. Make sure it is a straight line. Measure the distance between the flush mounts on the back of the mirror and then transfer these measurements to the wall. This will show you where to fix the flush mounts
- Make sure the measurements are right because flush mounts need to be aligned spot on to work
- Use 4 flush mounts for a giant mirror like the IKEA Mongstad. It is the same principle, but you will need two straight lines
Ikea Mongstad Makeover
Let’s talk now about some DIY projects you can try with the Mongstad IKEA mirror. It is always a good idea to give it a makeover. Because it is a large mirror, it will fit nicely with your new furniture and interior design.
In this makeover project, we will add a little molding to the mirror. You can get most of the ingredients in any brick and mortar store.
Here is a quick list of the supplies: outer most layer crown molding (2 pieces of 78 inches and 2 pieces of 37 inches), second and third layer of molding (6 eight feet pieces), 3m 120 Grit fine sand paper, Scotchblue 1.41 in x 60yrds, wood filler, duster/tack towel, polycrylic spray in stain, Martha Stewart glaze in black coffee, wide brads tacts, liquid nail multi-purpose repair adhesive, and Rustoleum painter’s touch paint and primer spray in heirloom white.
Of course, you will need tools as a power miter saw, table saw, cordless drill, hammer, saw horses, and more.
- Start with blue taping the inside of the mirror and sanding the frame
- Use the table saw to rip 3/8 inches of the edge straight down the crown molding. You have to do this step with crown molding, even more, if you want to get a 90-degree edge
- Measure and cut each pieces of the molding at a 45-degree angle
- Use liquid nails and tacts to hold the molding in place
- Measure and cut each piece of the second layer of molding. Use Power Miter for this step
- Drill hole for tacts slightly smaller than nail so board will grip the nail but not crack food. On each molding add 4 tacts to attach slightly under the outer crown molding
- It is time for the third layer of molding. Use it on the inside edge of the mirror. Measure and cut each piece
- Use liquid nails and tacts to attach
- Now sand anything that has been cut with a 120 grit sanding block
- Take your wood filler, wait, and sand with a 100 grit
- Set up the mirror and dust. It is best that you use lint free duster, if not, expect to have dust everywhere
- Spray paint the mirror, you will need 3 cans of spray paint, and then use spray Polycrylic to seal. If you want to add a vintage feel, use the Martha Stewart glaze to finish
We have to note that you do not have to do all 12 steps in a single day. It might take you two to three days to finish the complete DIY project. Take your time.
Mongstad Faux Grasscloth Wallpaper makeover
A big mirror is a great product for DIY projects. Note: you can use any wallpaper for this project. It doesn’t matter, you use the wallpaper that suits your interior design the most.

You will need:
- 1 roll of tan faux grass cloth peel and stick paper
- Craft knife or box cutter
- Metal ruler
- Start by cleaning the mirror with a krud kutter or any cleaner. Let the mirror dry
- Start applying the faux grasscloth wallpaper or any other wallpaper. Pop the mirror on the side, it will make it easier
- Start to tape the sticky side to the outside edge of the mirror. When you apply the paper initially, it will be a bit wavy. But you can smooth the paper out over the edge. Also, you can easily remove the paper and restick it onto the surface
- Use a hand and a clean towel to smooth the bubbles on the wallpaper. Trim the corner with a craft knife
- When you finish with the inside corner, turn the mirror around and repeat the same thing on the other side
- If you need to piece areas together, stick to the paper to the front side of the frame first
- Do not be afraid of messing up. You can make it more fun and unique that way. Not everything has to be smooth sailing
