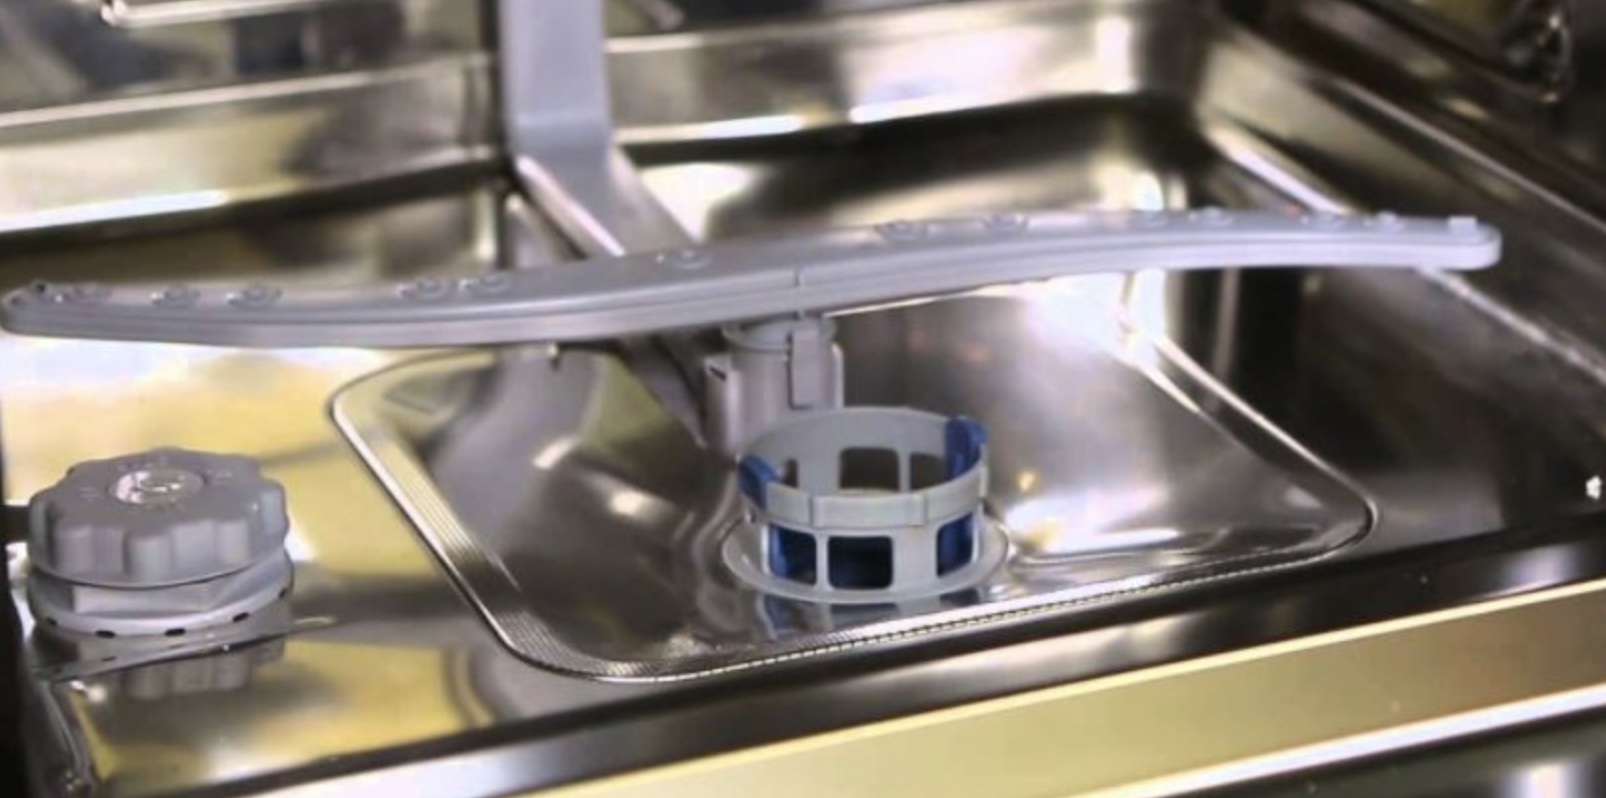
Has this happened to you? Your dishwasher has broken down? Or it is not cleaning as well as it should? Well, that kind of a problem can easily disrupt your schedule. We need our dishwasher to work properly so that our kitchen remains clean. Sometimes, the problem with your dishwasher might be the spray arms.
Before you call a repair technician, try to repair it yourself. How to clean dishwasher spray arms? Should you replace the entire unit? Well, not so fast.
Read on about a few things you can do to improve your dishwasher’s cleaning capabilities. If your dishwasher is not working like it used to, or if your dishes are still caked in your last night’s meal after a cycle, here is how to clean dishwasher spray arms.
Why are spray arms important?
When it comes to the machine and its capabilities, the dishwasher arms play a huge role. They provide streams of hot water directly to the dishes. It gives your dishware a thorough cleaning.
But the problem is often dishwasher spray arms can become clogged and dirty. They need to be regularly cleaned.
Clogged spray arms are the culprit of the dishwasher churning out not-so-clean dishes. Why do they become clogged? Well, you do put dirty dishes inside, right? Those spray arms can become clogged due to food debris, food particles, or because of hard water. FYI, hard water is water with high mineral content. It has moderate health benefits, but it makes life challenging for your dishwasher.
There are several ways for how to clean dishwasher spray arms. For optimal results, we recommend cleaning the clogged dishwasher spray arms once every few months. And after proper cleaning, remember to run a cycle without dishes to rinse and dry the parts.
Best Way to Clean Clogged Spray Arms

Let’s give you a step-by-step guide on how to clean a clogged spray arm. Hopefully, this will help keep your machine working at optimal capacity.
- Start by unplugging the unit. This might be a bit harder, and you need proper tools for unplugging the unit
- Now, remove the dishracks so that you can continue with cleaning
- Locate the screw-on cap bolts. They are the ones holding the spray arm in place. If you cannot find the screw-on cap, you might have to clean the spray arm without removing it. If this is the case, skip to step 6. Otherwise, continue
- Remove the caps or bolts. Be careful and take note of the order of any washers that may also be in place that need to be removed
- At this point, you can freely remove the spray arm. It is now time for cleaning those dirty arms
- Start by filling a sink or bucket with hot water. You do not need a huge bucket. A medium to large one will do the trick
- Add soap and one cup of vinegar to the bucket. Then, agitate the water to mix
- Once your water solution is ready, place the spray arm into the water. Allow the dirty spray arms to soak for a few minutes so that the debris becomes loosened. If you weren’t able to remove the spray arm, dip cloths into the soapy water and lay them over the spray arm. With the help of a spray bottle, you can re-soak the cloths with more soapy water every 30 minutes
- For those of you having problems with hard water. If there are mineral deposits from hard water, soak them in straight white vinegar
- Get an old toothbrush, or any other scrubber and use it to clean the surface of the arm. Use cotton swabs to remove the build up from the small holes in the arm. With the help of tweezers and toothpicks, you can pull out pieces of debris from the openings
- Once you have removed all the debris, it is time to get the pieces back together. Rinse the piece completely with clean water inside and out. You can spray it with a high-pressure water to remove the remained loosened debris
- If the debris still will not budge, use an enzyme digester and let the enzymes work for as long as needed. Then, wash the spray arm with soapy water and remove the enzymes. Run the dishwasher through a cycle to clean off the enzyme cleaner from the inside spray arm
- Shake off any excess water and dry the arms using a soft cloth
- Finish off by replacing the arm back into the dishwasher. Make sure all bolts and washer are installed in the same order as you removed them. You do not change anything
- Finish off by running a full cycle of dishwashing to clean the inside thoroughly
