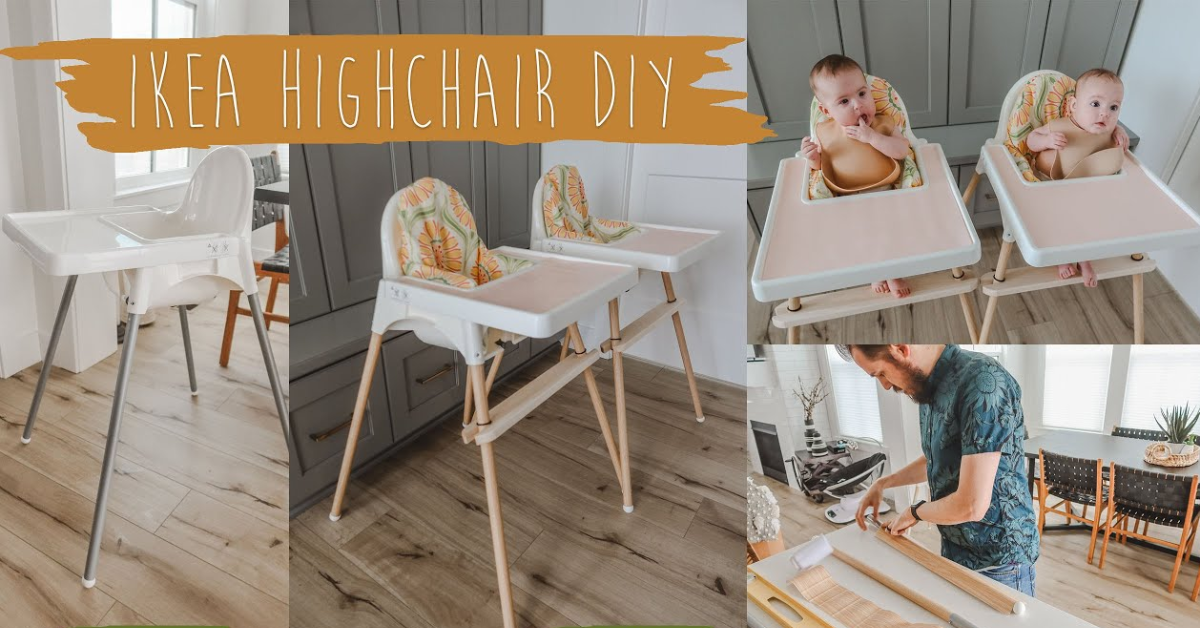
IKEA Antilop High Chair is one of the best in the business. Basically, the purpose of a high chair is to make it easier for small children to sit and eat at the same table as adults. It helps children develop social and eating skills. But what about their feet? How to make an IKEA High Chair Foot Rest for small babies? We have you covered on that.
The original high chair is easy to disassemble and transport. And the raised edge prevents spills from ending up on the floor. The product has been tested and approved so there is no cause for concern.
Why is IKEA High Chair Popular?

The IKEA Antilop high chair with tray, white and silver color is one of the most popular on the market. One of the big reasons for its popularity is the affordable price. You can get this IKEA highchair for your toddler for only $29.99.
It is easy to take apart and bring along. This way, your toddler can sit safely whether you are at home, in a restaurant, at your parent’s house, or at your friend’s house.
Both you and your kid can enjoy your meal.
What are the measurements?
Let’s take a close look at the measurements of the IKEA highchair. It is always nice to know it.
- Width: 22 “
- Depth: 24 3/8 “
- Height: 35 3/8 “
- Seat width: 9 7/8 “
- Seat depth: 8 5/8 “
- Seat height: 21 1/4 “
- Max. load: 33 lbs
How to get foot rest on IKEA High Chair?
As we said before, the only downside of the IKEA Antilop highchair is the lack of foot rest for your babies. But do not worry, you can make an adjustable highchair footrest with only little effort and basic DIY skills.
The footrest is a must when you begin weaning your little one and it makes a great accessory to your original IKEA Antilop highchair.
With its simple and minimal design, the footrest is a great accessory. It is easy to install and you can adjust to change the height of the footrest. It grows with your child.
What you need:
- 1 wooden, smooth, finished footrest
- 4 o-rings to help keep it in place, they can be installed 2 above and 2 below or all 4 below
How to do it?
- Take the legs off your Antilop high chair
- Roll the thick o-rings above and below the wooden footrest to keep it from slipping down
- Adjust per your baby’s height, and that is it. You have an adjustable highchair footrest for your baby
Why do you need this hack? Well, when feeding your little one, your baby can slump down in the chair and kick its legs. Meal times become messy, but also confusing and frustrating for your baby. The footrest keeps your baby steady, balanced, and able to concentrate on eating.
Another IKEA Antilop High Chair Hack
Here is another IKEA hack for your baby’s foot you can try. All you need is the Antilop highchair and two Antilop trays. As we said before, the only thing that’s missing on the Antilop chair is support for your child’s feet. Here are some instructions.
- Buy an extra tray
- Drill four holes using a machine that can drill big holes for the legs
- Drill holes in each corner and put the legs of the chair through the holes
This way, the tray will stay in place without using any glue. And you can place it exactly where you need it. And the bonus is your tray will catch food as well.
Why Should You Transform Your IKEA High Chair?
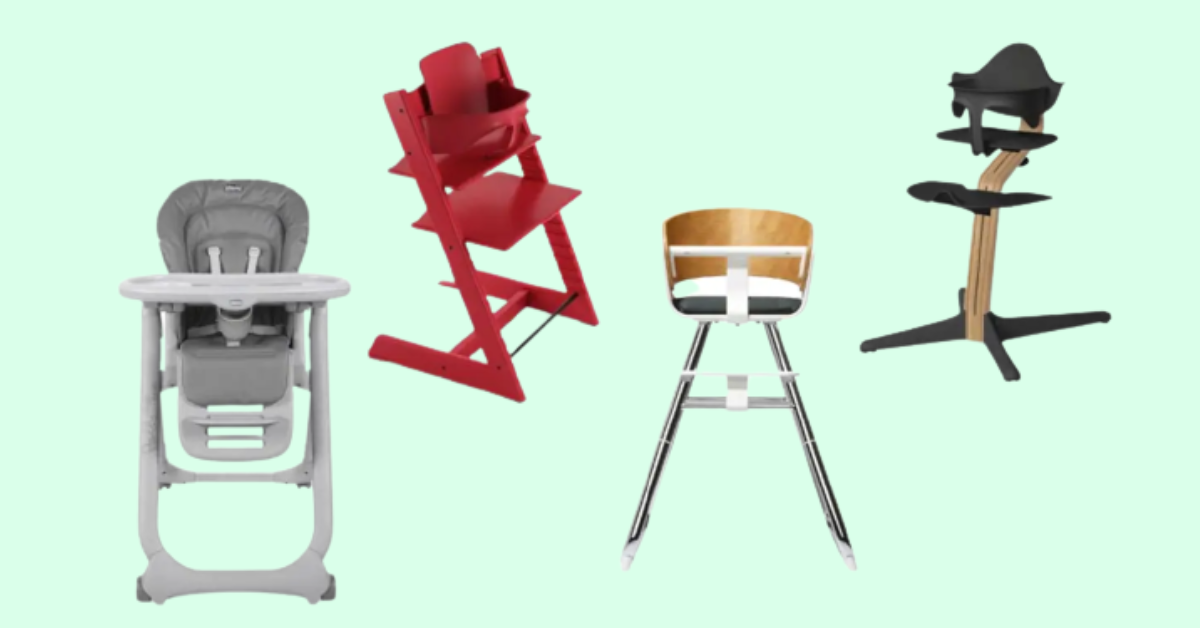
You are probably wondering, why I shouldn’t buy a high chair with a footrest. Well, that might sound easy, but the price will be much higher. And if you have two kids or twins, the price might go up to $500 or $600 for two chairs.
Remember, as we said before, the IKEA one costs only $29.99. Add in a couple of bucks for the adjustment and DIY project, and we are sure your bill will not get higher than $50 per chair.
Bonus, if you buy the chair and tray together, you get a cheaper price.
How to make your footrest even better?
There are two optional steps you can make to make your IKEA High Chari Foot Rest even better. One is adding adhesive vinyl wrap, and the other is silicone placemat.

Wrapping the steel legs with adbhesive vinyl might be challenging, but it will give you a better visual impact.
How to do it? Start by cutting a long narrow strip wide enough to wrap around the width of the leg. Place the leg in the center of the strip. Now, slowly press the vinyl flush to the steel using short and fluid motions. It might take you a few attempts to get it right, but you will get there. If there are air bubbles that need flattening, simply press with your hand.
If you want to get a more precise fit, slightly taper the strip, rather than cutting a perfect rectangle. If you do not have the time for it, well, satisfy yourself with imperfect applications.
Now, for the other part, silicone placemat. There are silicone place mats that are customized to fit the Antilop’s tray.
These place mats provide a safe eating surface and are ideal for teaching proper table manners to your kids.
The place mats will transform the tablescape. Yes, the material might not be as substantial as you would prefer. But there are always options for other materials for your placemat. And they cost between $10 and $20, so it is not a big budget spending splurge.
